
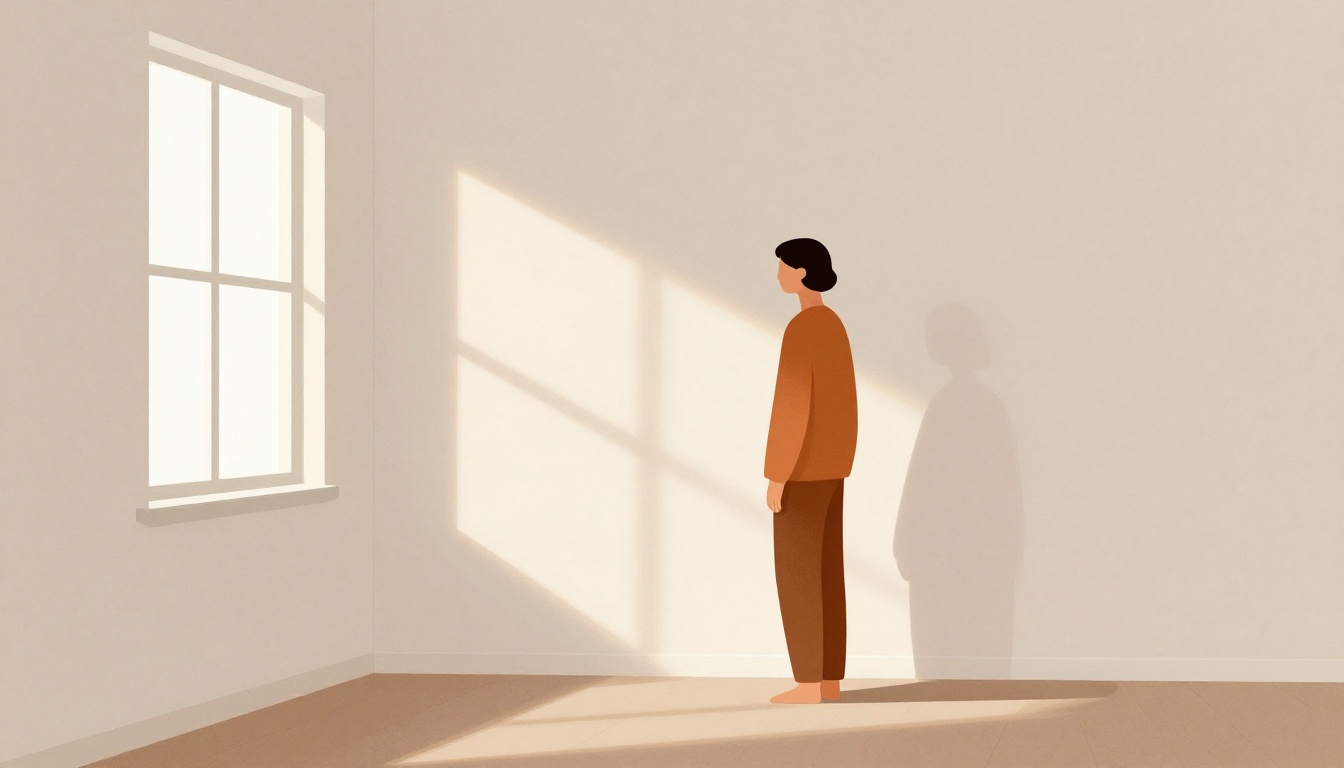
Your brand photos feel flat. The lighting is harsh, the shadows are unflattering, and the image doesn't capture the feeling you want your audience to experience. You're not alone.
Natural light is the most accessible and powerful tool for creating authentic brand imagery. It's free, it's everywhere, and when used correctly, it produces images that feel genuine and emotionally resonant. Here's how to master it.
What is the safest type of natural light for consistent, flattering brand photos?
Select one answer.
Understand the five types of natural light
Not all natural light is created equal. According to Rangefinder Online, there are five key types: golden hour, direct light, diffused light, evening light, and candle light. Each creates a different mood.
Golden hour—the hour after sunrise and before sunset—produces warm, soft light that flatters almost any subject. Diffused light, found on overcast days or in shaded areas, eliminates harsh shadows and creates even skin tones. Direct light is intense and dramatic but can be unforgiving.
For brand photos, diffused light is your safest bet. It's consistent and forgiving. Golden hour adds warmth and emotion. Direct light works for bold, editorial looks but requires careful positioning.
Position your subject relative to the light
The direction of light changes everything. Photography Playground breaks it down into front light, side light, and backlight.
Front light illuminates the subject evenly. It's easy to work with but can feel flat. Side light creates depth and texture by casting shadows across the subject. Backlight produces a glowing halo effect, perfect for dreamy, atmospheric shots.
For brand photos, side light is often the most flattering. It adds dimension without overwhelming the image. Position your subject at a 45-degree angle to a window or open door. This creates soft shadows that define facial features and product textures.
Use your environment as a light modifier
You don't need expensive gear to shape natural light. White walls, light-colored floors, and even a piece of foam board can act as reflectors. Bounce light back onto your subject to fill in shadows.
Avoid dappled light—the kind that filters through leaves or blinds. It creates uneven patches of light and shadow that are hard to correct. Instead, look for open shade, like the north side of a building or a spot under a wide awning.
Shoot during the right time of day
Midday sun is your enemy. It's harsh, creates deep shadows under eyes and chins, and washes out colors. Schedule shoots for early morning or late afternoon.
If you must shoot midday, find open shade. Place your subject near a large window with indirect light. Use a sheer curtain to diffuse direct sunlight. The goal is even, soft illumination.
Keep it simple
Natural light photography doesn't require complex setups. A single window, a reflector, and the right time of day are enough. Focus on the story you want to tell. Let the light guide the mood.
How the Resident Expert Can Help
Adrienne Leigh Moore is a Bay Area photographer who specializes in atmospheric, storytelling photography for luxury eco-retreats and design-forward spaces. She brings an intuitive approach to natural light, capturing not just what a moment looked like, but what it felt like to inhabit it. Her work has been featured in Architectural Digest and Voyage LA. If you're ready to elevate your brand's visual identity with authentic, light-driven imagery, visit Adrienne Leigh Moore Photography to learn more about her immersive collaborations.
Quiz
What is the safest type of natural light for consistent, flattering brand photos?