
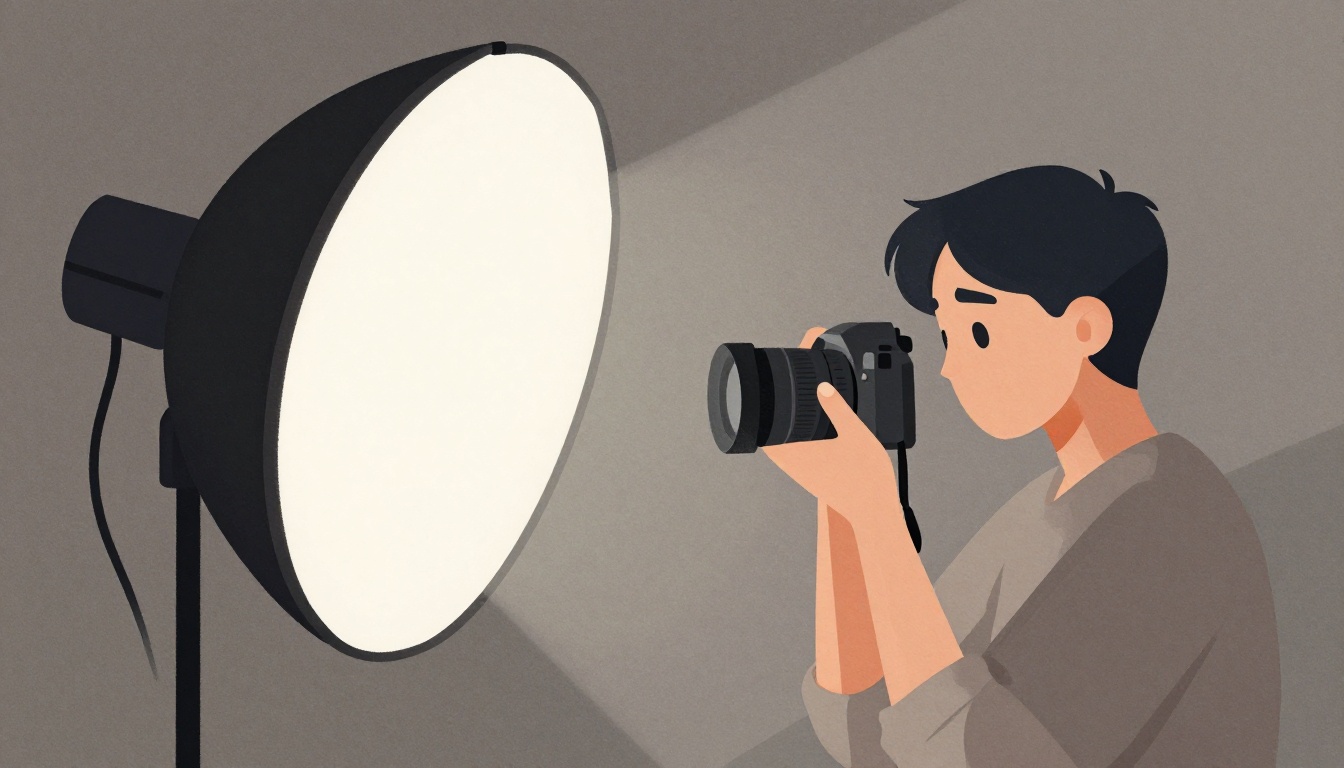
Reflective surfaces—glass, chrome, water, polished stone—can elevate brand imagery with depth and atmosphere, but they often produce distracting hotspots, camera reflections, and blown-out highlights. The problem isn't the surface; it's uncontrolled light. This guide explains how to manage reflections so they serve your brand story instead of sabotaging it.
What aperture range is recommended for photographing reflective objects to achieve good depth of field?
Select one answer.
Why reflections matter for brand storytelling
Reflections add layers, emotion, and visual intrigue. They can suggest depth, context, and mood—key ingredients for atmospheric brand imagery. But without control, they become visual noise. The goal is to turn reflections into intentional design elements that reinforce your brand's tone and values.
Step 1: Understand good vs. bad reflections
Not all reflections are bad. According to photographer Rachel Kimberley, "bad" reflections are broad and scattered, blowing out large portions of an object and flattening the image. "Good" reflections are defined, centralised, and add dimension with subtle shading. The difference often comes down to positioning—not camera settings. Source
Step 2: Control your lighting environment
Reflective surfaces don't absorb light; they mirror their surroundings. To avoid unwanted reflections, start by removing clutter and filling the space with soft, even light. Arqspin's guide recommends:
- Photograph in a room with white walls to avoid colour casts.
- Use continuous light so you can see adjustments in real time.
- Use a diffuser (softbox or diffusion sheet) to spread light and soften shadows. Source
Step 3: Position your camera and lights strategically
Avoid shooting straight-on—that turns the surface into a mirror for your camera and crew. Instead, position your camera slightly above the object and tilt down. Place lights at the same angle as the camera but on the opposite side, like a mirror image. This replaces environmental reflections with controlled light reflections. Source
Step 4: Use aperture for depth of field
For reflective objects, you want as much in focus as possible. An aperture of around f/8, f/11, or f/16 provides good depth of field, keeping the entire object sharp while managing background blur. Source
Step 5: Block unwanted reflections
If you're still seeing unwanted reflections (like your own reflection or bright windows), use black cards or a "tent" to block them. For dark objects, create contrast between the background and the object to control exposure. Source
Step 6: Embrace intentional reflections for mood
Once you control the basics, use reflections creatively. Mirrors, windows, and water can create layered, cinematic compositions that tell a story. A reflection can show a second angle, hint at a larger environment, or add emotional depth. This aligns with brand storytelling principles: images should capture emotions and experiences, not just products. Source
Quick checklist for your next shoot
- Scout the location for reflective surfaces and note light sources.
- Bring diffusion material, black cards, and a tripod.
- Set aperture between f/8 and f/16.
- Position camera slightly above and angled down.
- Place lights opposite the camera at the same angle.
- Review reflections on a large screen or tethered monitor.
- Experiment with intentional reflections for storytelling.
How the Featured Expert Can Help
Adrienne Leigh Moore is a Bay Area photographer who specializes in atmospheric, storytelling photography for brands, businesses, and individuals. She offers immersive collaborations and nature photography services, targeting luxury eco-retreats and design-forward spaces. Her work has been featured in Architectural Digest, 7x7, CB Magazine, Caribbean Living Magazine, and Voyage LA. If you need reflective surfaces photographed with mood and intention, visit her website to learn more.