
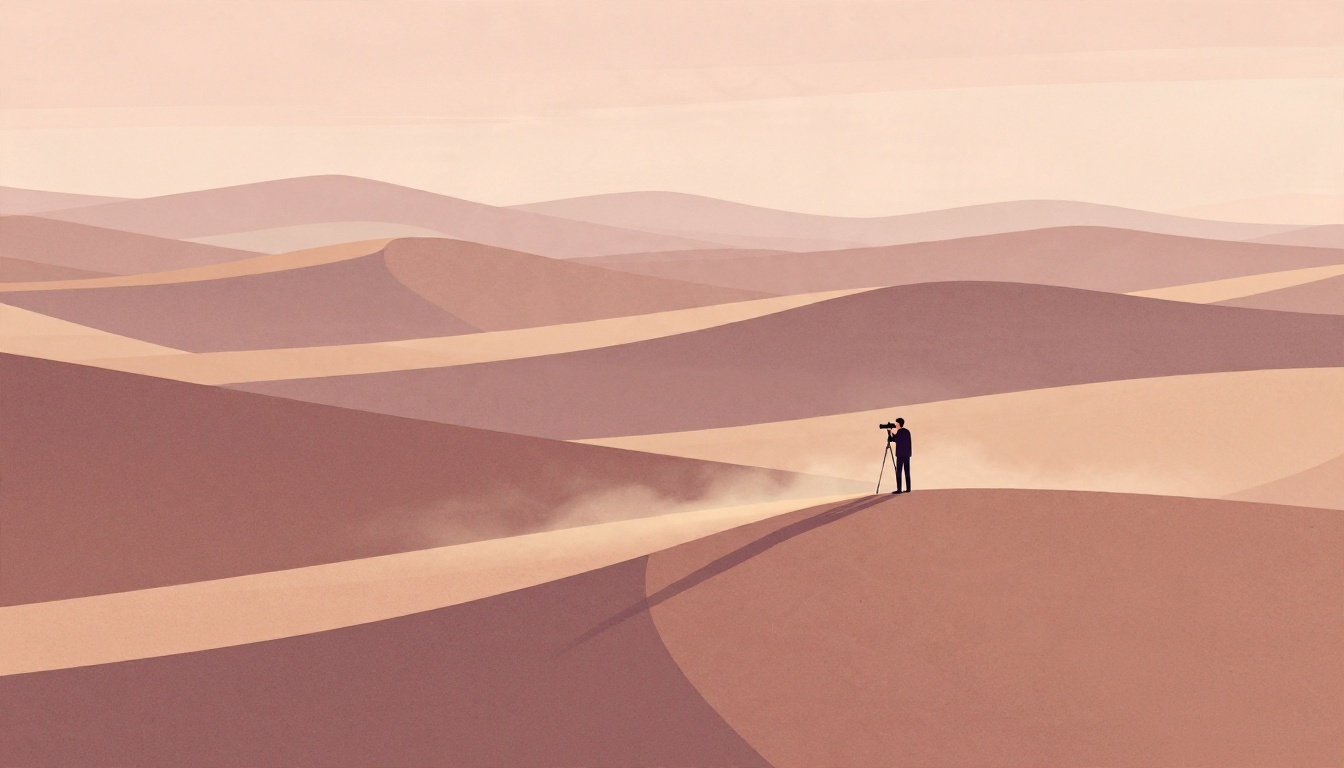
Desert scenes often look spectacular in person and flat on the back of your camera. The problem is rarely the location. It is usually light, weather, and composition working against you: harsh midday sun, featureless skies, and a horizon that swallows scale. Atmosphere is what fixes this, and atmosphere in a desert is something you plan for rather than stumble into.
This guide covers how to read desert light, use dust and haze deliberately, compose for scale and minimalism, and protect your gear so you can keep shooting when conditions get interesting.
According to photographer Michael Frye, what did the dust in a Death Valley dust storm resemble?
Select one answer.
Start with light, not location
Desert light is unforgiving at midday and generous at the edges of the day. Plan your shooting windows around sunrise and sunset, and treat the hours in between as scouting and travel time. The Adorama desert photography guide frames desert work around chasing light and composition rather than simply arriving at a landmark.
A simple daily rhythm:
- Pre-dawn: arrive early, set up on high ground, and watch how the first light reveals dune ridges and rock edges.
- Early morning: shoot long shadows and cool-to-warm color transitions.
- Midday: scout compositions, check access routes, and rest. Avoid flat overhead light.
- Late afternoon to sunset: shoot again, prioritizing silhouettes and side light.
- After dark: consider night work if you have a tripod and a clear sky.
Use dust and haze as atmosphere, not as a problem
Dust and haze are the most reliable atmospheric tools in a desert. Blowing sand softens contours and turns hard-edged dunes into layered shapes. Photographer Michael Frye describes photographing a dust storm in Death Valley, noting that the dust behaved like mist, softening the contours of the sand, and that when the sun rose it looked like sun breaking through fog, casting soft, warm light (Michael Frye Photography).
Practical ways to work with it:
- Get above the dust. High points let you look down on dust filling a valley, which separates foreground ridges from background mountains.
- Shoot into the light. Backlight and side light make suspended particles visible and create depth.
- Expose for the haze. Let distant layers go pale; that separation is the atmosphere.
- Watch the wind. If gusts are strong enough to threaten your gear, wrap the camera and wait.
Dust events are also large-scale weather. Saharan dust plumes can travel for days or weeks depending on how dry, fast, and turbulent the air masses become, and they produce hazy skies (ESA). That haze is exactly what gives distant desert layers their color and softness.
Compose for minimalism and scale
Desert landscapes reward restraint. Anton Gorlin's desert guide notes that the desert landscape is all about minimalism, so clean separation between elements works well, and recommends finding a crisp dune with a nicely outlined ridge (Anton Gorlin).
Apply that with a short checklist:
- Find one anchor. A single dune ridge, rock formation, or lone tree is usually enough.
- Separate layers. Keep foreground, midground, and background distinct rather than overlapping into mush.
- Include scale. A tiny figure, vehicle, or plant tells the viewer how vast the scene is.
- Use negative space. Empty sky or smooth sand is a compositional element, not wasted frame.
- Shoot low or high deliberately. Low angles exaggerate dunes; high angles reveal pattern and texture.
Protect your gear so you can stay out longer
Sand is the main practical obstacle. A UV filter on the lens and a protective camera jacket help keep sand out of crevices, and a roll-top waterproof bag or even a plastic bag offers backup protection. If you are on an exposed dune ridge in strong wind, it is reasonable to stop shooting and wrap the camera (Picfair).
A field checklist:
- Keep a filter on every lens you carry.
- Change lenses as little as possible, and never in open wind.
- Use a tripod partly to keep the camera off the sand.
- Carry more water than you think you need, plus a wide-brimmed hat and sunscreen.
- Track your route with a GPS app once you leave marked roads.
Edit for mood, not for drama
Atmospheric desert images usually need restraint in post. Protect the highlights in bright sand, lift shadows only enough to keep texture, and avoid over-saturating warm tones. If haze is the point of the frame, keep the contrast low in the distance and let the layers stay soft.
Quick pre-shoot checklist
- Check sunrise and sunset times and arrive early.
- Review wind and dust forecasts; plan a high vantage point if dust is likely.
- Pack a filter, camera cover, and waterproof bag.
- Scout one strong anchor and one clean layer separation per location.
- Carry water, sun protection, and a GPS route.
- Shoot at the edges of the day and rest at midday.
Atmosphere in desert photography is not luck. It is light you planned for, weather you used instead of avoided, and compositions simple enough to let the scene breathe.
How the Featured Expert Can Help
Adrienne Leigh Moore is a Bay Area photographer who specializes in atmospheric, storytelling photography for brands, businesses, and individuals, with immersive collaborations and nature photography services aimed at luxury eco-retreats and design-forward spaces. Her work has been featured in Architectural Digest, 7x7, CB Magazine, Caribbean Living Magazine, and Voyage LA. You can explore her portfolio and inquire about a collaboration at adrienneleighmoorephotography.com.