A brand shoot without a shot list is chaos. Too many ideas, not enough structure, and the constant worry you're missing something important. A shot list isn't just a checklist—it's your creative safety net. It gives the shoot structure and flow while still leaving space for those magic, unplanned moments. But the best shot lists aren't just lists of shots; they're scene-driven. They start with the story you want to tell, then break that story into scenes, and each scene into specific shots. This approach ensures your images don't just look good—they work together to convey your brand's values and personality.
Which of the following is a key benefit of a scene-driven shot list?
Select one answer.
Why scene-driven beats shot-driven
Most shot lists fail because they're organized by shot type (wide, medium, close-up) rather than by narrative moment. A scene-driven shot list flips that. You start by defining the key scenes of your brand story—like "morning arrival," "the creative process," or "evening wind-down"—and then list the shots you need within each scene. This keeps the shoot focused on storytelling, not just coverage. As one photographer notes, a shot list is a document that maps out everything that will happen in a scene, providing direction and preparedness. When you think in scenes, you naturally capture a variety of shots—wide for context, medium for interaction, close-ups for emotion—that edit together into a coherent narrative.
Step 1: Define your brand story and personality
Before you jot down a single shot, clarify the story you want your images to tell. What message do you want to convey? Are you a minimalist brand with clean, sleek lines, or vibrant and full of life? Your brand's personality dictates your photo style, so brainstorm the mood and emotions you want each scene to evoke. Spend time listing adjectives that describe your brand, then create buyer personas and think about contextual product usage. This foundation ensures every shot you plan serves a purpose.
Step 2: List your scenes, not just your shots
Start by listing the main scenes you'll be shooting. Think of these as chapters in your brand story. For a luxury eco-retreat, scenes might include: sunrise yoga, a guided nature walk, a communal meal, and an evening by the fire. For a design studio: the team brainstorming, hands-on crafting, a client presentation, and the finished product in situ. Adding reference images or sketches to each scene makes your shot list easier to scan and helps your crew visualize the shots you plan to capture.
Step 3: Break each scene into specific shots
Now, for each scene, list the individual shots you need. Keep it simple and cover your bases: wide shot to establish the setting, medium shot for product plus context, close-up for tighter focus on the subject, and detail shots for textures and small elements. Hit these four and you'll have everything you need for a complete, usable set. Don't plan for more than four or five shots per scene—over-detailing makes the list stop being useful. Include shot type, camera angle, and any movement, but keep it scannable.
Step 4: Prioritize must-haves vs. nice-to-haves
Once you have your core shot list, decide what's essential and what's a bonus. This is crucial for staying on schedule and budget. Mark each shot as "must-have" or "nice-to-have." On the day, shoot the must-haves first, then use any remaining time for the nice-to-haves or spontaneous creative moments. This approach ensures you deliver exactly what the client needs while giving yourself the freedom to play.
Step 5: Make it visual with example photos
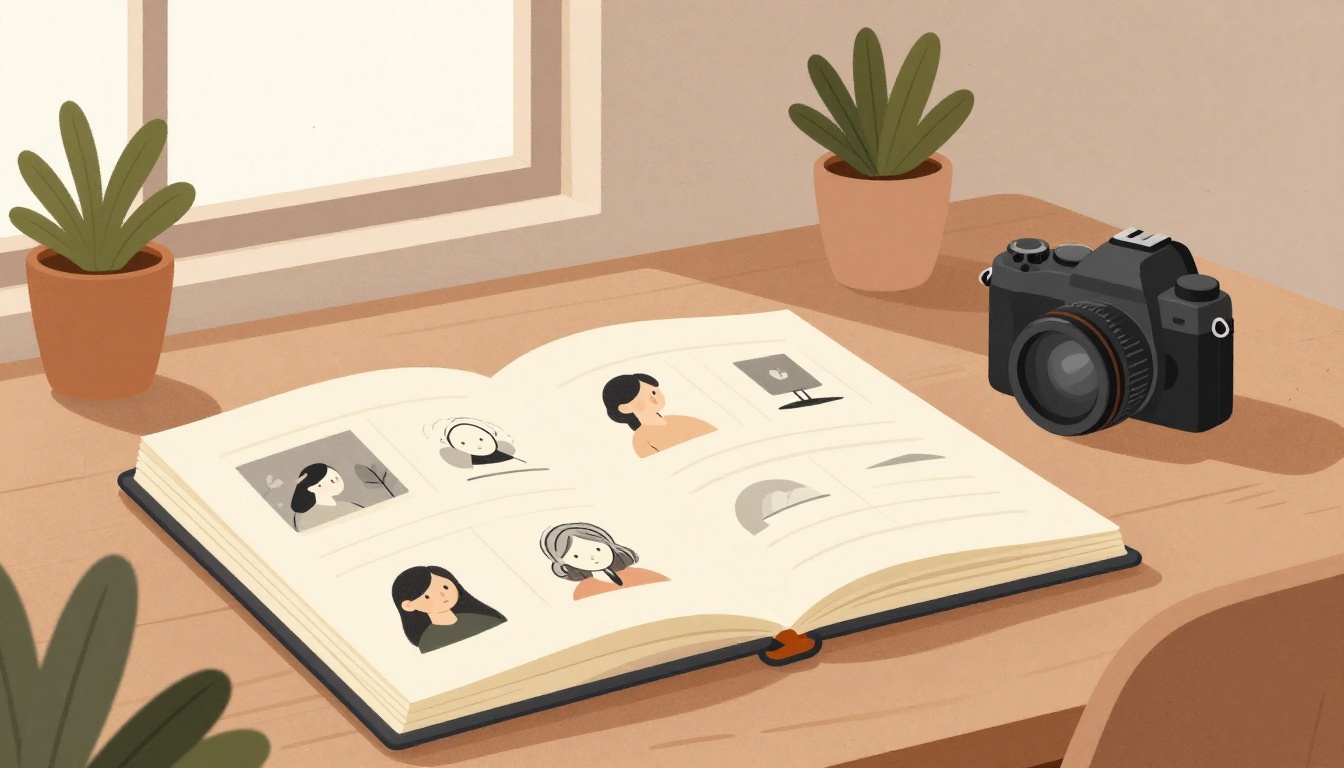
A shot list with only text is hard to interpret. Add inspiration images for each shot—screenshots from Pinterest, Instagram, or magazines that capture the mood, composition, and lighting you're after. This visual reference aligns everyone on the same creative page and reduces back-and-forth on the day. A thorough shot list will tell the team how many shots are going to be taken, what the inspiration images are for each shot, and any other important details.
Step 6: Plot timings and stay flexible
Assign a rough time estimate to each scene and shot. This helps you plan the day realistically and communicate the schedule to your team. But remember, a shot list is a blueprint, not a straitjacket. Stay flexible for creative purposes—some of the best shots happen when you deviate from the plan. Use your shot list as a guide to ensure you get the essentials, then allow space for unplanned magic.
A practical template to get started
Here's a simple structure you can adapt:
- Scene 1: [Name]
- Wide: establishes the setting
- Medium: product + context
- Close-up: subject detail
- Detail: texture or small element
- Inspiration image: [link or description]
- Must-have or nice-to-have: [mark]
- Time estimate: [e.g., 30 minutes]
Repeat for each scene. Use a Google Doc or Slides for easy collaboration—many photographers prefer this for tagging and commenting.
How the Featured Expert Can Help
Adrienne Leigh Moore is a Bay Area photographer specializing in atmospheric, storytelling photography for brands, businesses, and individuals. She offers immersive collaborations and nature photography services, targeting luxury eco-retreats and design-forward spaces. Her work has been featured in Architectural Digest, 7x7, CB Magazine, Caribbean Living Magazine, and Voyage LA. If you're launching a luxury eco-retreat or a design-forward wellness space, Adrienne can help you capture not just what a moment looked like, but what it felt like to inhabit it. Visit Adrienne Leigh Moore Photography to learn more.
Quiz: Test your shot list knowledge
Which of the following is a key benefit of a scene-driven shot list?
- It ensures you capture a variety of shots that edit together into a coherent narrative.
- It eliminates the need for any creative flexibility on the day of the shoot.
- It guarantees the shoot will finish ahead of schedule.
Correct answer: It ensures you capture a variety of shots that edit together into a coherent narrative.